


Colours of the seasons: watercolour techniques


 About this lesson
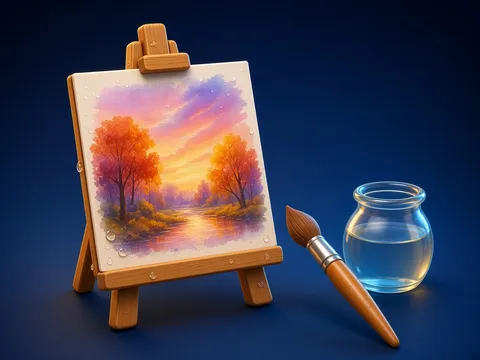
In wet-on-wet, we first wet the paper with clean water and then add paint: the colours spread and blend softly, which is good for skies, mist and rain. In dry brush we paint on dry paper and the edges stay sharp, which suits branches, houses and leaves. Each season has its own palette: winter white, pale blue and grey; spring light green and pink; summer bright green and yellow; autumn orange, red and brown.
 What the book shows

In art lessons the child explores colour, line and shape, draws and creates patterns. Look at the textbook examples, then make your own work.
Textbook link:
This is not the textbook’s text but a short description of the topic. Check the exact page in your own textbook.
 The lesson step by step
- 1
Warm-up5 min
Season palette.
- 2
New topic10 min
Two techniques.
- 3
Practice10 min
Test squares.
- 4
Game10 min
Landscape.
- 5
Wrap-up5 min
Gallery talk.
 Let’s understand
For the student Simple language
| Technique | Paper | Result | Good for |
|---|---|---|---|
| 💧 wet-on-wet | wet | soft blend | sky, mist, water |
| 🖌 dry brush | dry | sharp edge | trees, houses, leaves |
 For the parent
How to help
- Try the salt experiment together.
- Look out of the window and choose today’s season palette together.
 For the teacher
 Lesson goals
- Try two watercolour techniques, wet-on-wet and dry brush, and paint a landscape with a palette chosen for a season.
How to teach it
- Observation, drawing, colour mixing, a class display
 Differentiation
- Weaker pupils colour a ready outline; stronger pupils create their own composition
 Questions for the class
- How do wet-on-wet and dry brush differ?
 How to check
The pupil chooses each technique correctly and paints a landscape with a season palette.
 Scientific Scientific language
How water carries paint
On wet paper water soaks into the fibres and carries the paint particles in every direction.
Salt experiment
Sprinkle a little salt on wet paint; when dry it leaves a pattern like snowflakes.
Self-study
Step by step
- Which season am I painting? Choose the palette.
- Background wet-on-wet.
- Details with dry brush once it has dried.
Going deeper
 Scientific language: for older students, parents and teachers.
In watercolour white paint is often not used; the white parts are simply blank paper.
 Play and check
Which technique?
 How to write it down
- Paint two squares, one wet-on-wet and one dry brush, and write the difference.
- Show the palettes of the four seasons with colour swatches.
How the classwork looks in the notebook
Sample: the date and heading follow this country’s notebook rules.
 Watch out: common mistakes
 Where it helps in life
- The colour of light through the day
- Monoprinting
 At home
Core
- Paint a landscape of your favourite season using both techniques.
Extra ⭐
- Try a texture test with salt or cling film and stick in the result.
How to do it
- Prepare a quiet spot and materials.
- Show your work to a grown-up and explain it.
Answers for parents
For example, autumn: an orange-yellow sky wet-on-wet, then brown branches and red leaves with dry brush once dry.
Step-by-step homework solution — Show the solution (try it yourself first)
Plan
- A winter scene: 1) a blue-grey sky wet-on-wet; 2) let it dry; 3) dark branches with dry brush; 4) leave the paper blank for white snow.
How the homework looks in the notebook
Sample: the date and heading follow this country’s notebook rules.

 About cookies