


Sewing on a button


 About this lesson
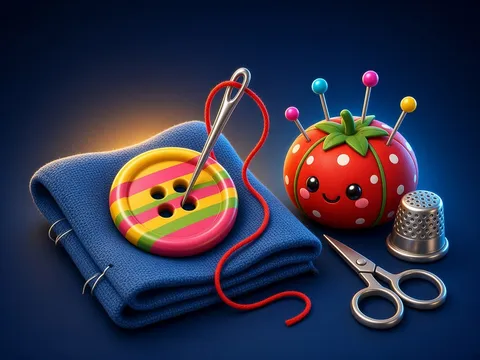
Sewing on a button is a useful skill for everyone. Safety first: keep needles in a pincushion, never put them in your mouth or leave them in clothes, and count them when you finish. A thimble protects your finger. Steps: cut a thread about as long as your arm, pass it through the needle’s eye and tie a knot at the end. Place the button, bring the needle up from the back of the fabric, then go through the holes 5–6 times up and down. A 4-hole button can be sewn in a cross or in two parallel lines. Finish with a few small stitches on the back to secure the thread, and cut it with scissors.
 What the book shows

In technology lessons the child works with their hands: cutting, folding, gluing and making things from natural materials. Every task starts with a safety rule.
Textbook link:
This is not the textbook’s text but a short description of the topic. Check the exact page in your own textbook.
 The lesson step by step
- 1
Warm-up5 min
A shirt with a lost button.
- 2
New topic10 min
Needle rules.
- 3
Practice10 min
Step by step.
- 4
Game10 min
Practice.
- 5
Wrap-up5 min
Checking.
 Let’s understand
For the student Simple language
| Step | What we do |
|---|---|
| 1 | cut a thread about arm’s length |
| 2 | thread the needle, tie a knot |
| 3 | come up from the back, through a hole |
| 4 | repeat 5–6 times |
| 5 | secure on the back, cut the thread |
 For the parent
How to help
- Show your child how to sew a button on scrap fabric and practise together.
- Show where needles are kept.
 For the teacher
 Lesson goals
- Know how to use a needle safely, thread it and tie a knot, and sew on a 2-hole or 4-hole button firmly.
How to teach it
- Demonstration, step-by-step making, pair work, a display
 Differentiation
- Weaker pupils work from a ready outline; stronger pupils make their own design
 Questions for the class
- How do we sew a button firmly and safely?
 How to check
The pupil follows needle safety and sews a button on firmly.
 Scientific Scientific language
Why not a very long thread?
Long threads tangle and knot; arm’s length is enough.
A “shank”
On thick coats the thread is wound under the button to make a little stem so it fastens easily.
Self-study
Step by step
- The needle is in the pincushion.
- The thread is arm’s length, with a knot.
- The button is firm.
- I counted the needles.
Going deeper
 Scientific language: for older students, parents and teachers.
Mending your own clothes saves money and helps nature: clothes last longer and less is thrown away.
 Play and check
Safe or unsafe?
 How to write it down
- Draw the 5 steps of sewing a button.
- Write 4 needle safety rules.
How the classwork looks in the notebook
Sample: the date and heading follow this country’s notebook rules.
 Watch out: common mistakes
 Where it helps in life
- Simple stitches
- A fabric toy
 At home
Core
- With an adult watching, sew a 2-hole button onto scrap fabric.
Extra ⭐
- Sew a 4-hole button in a cross.
How to do it
- Work with a grown-up watching.
- Tidy up afterwards.
Answers for parents
Check: the button doesn’t wobble, the thread is secured on the back and needles are back in the pincushion. A cross stitch makes an “x” on the button.
Step-by-step homework solution — Show the solution (try it yourself first)
Think
- The button is on but wobbles. Why: too few stitches or the thread isn’t secured. Fix: go through 2–3 more times and secure with small stitches on the back.
How the homework looks in the notebook
Sample: the date and heading follow this country’s notebook rules.

 About cookies