


Electronic presentations


 About this lesson
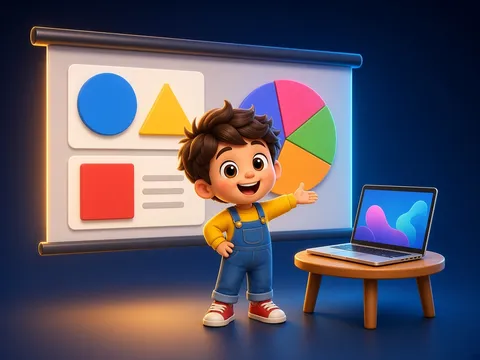
A presentation is a way of showing a topic to an audience visually. Once people used posters and the board; now they use electronic presentations made on a computer. An electronic presentation is made of pages shown one after another — slides. A slide can hold text, pictures, tables, charts, sound and video. Presentations are made in special programs such as Microsoft PowerPoint or the free OpenOffice Impress. Work starts with a plan: choose a topic, gather material, decide the sections and plan a slide for each. Then create a new presentation in the program and choose a layout for each slide. A layout is the arrangement of elements on a slide — places for the title, text and pictures. Click a placeholder to type text, and add pictures. No full stop goes at the end of a title or a list item. When finished, save the presentation as a file and show it full screen in slideshow mode (often with the F5 key). Rules for a good presentation: little but essential text on each slide; a large, readable font; contrasting background and text colours; pictures that fit the topic; and a number of slides that suits the time you have. Slides don’t replace the speaker — they help.
 What the book shows

In grade 6 the computer science textbook covers how a computer is built and works, encoding numbers, electronic presentations, the properties of algorithms and loops, variables in programs, and email. Each topic gives a short explanation, an example and a task done on or off the computer.
Textbook link:
This is not the textbook’s text but a short description of the topic. Check the exact page in your own textbook.
 The lesson step by step
- 1
Warm-up5 min
Speaking in front of a screen.
- 2
New topic10 min
Presentations and slides.
- 3
Practice10 min
Plan and layout.
- 4
Game10 min
Text, pictures and the slideshow.
- 5
Wrap-up5 min
Fixing a slide.
 Let’s understand
For the student Simple language
| Stage | What we do | Tip |
|---|---|---|
| plan | topic, sections, slides | one slide, one idea |
| layout | places for title, text, picture | pick a simple layout |
| content | add text and pictures | big font, little text |
| slideshow | save, press F5 | fit the time |
 For the parent
How to help
- Ask your child to show their presentation to the family, and ask one question per slide.
 For the teacher
 Lesson goals
- Know what an electronic presentation is and where it is used, plan one, pick a layout, add text and pictures, save and show it, and follow the rules of a good slide.
How to teach it
- Hands-on computer work, unplugged modelling, pair work, mini-project
 Differentiation
- Weaker pupils follow the model step by step; stronger pupils design and test their own task
 Questions for the class
- How does a good presentation keep listeners interested?
 How to check
The pupil plans a presentation, chooses layouts, adds text and pictures, saves and shows it, and follows the rules of a good slide.
 Scientific Scientific language
Colour contrast
Dark text on a light background (or the other way round) is readable even from far away.
Attention
When a slide has too much text, listeners start reading and stop listening.
Self-study
Step by step
- I planned the presentation.
- I chose a layout.
- I added text and pictures.
- I showed the presentation.
Going deeper
 Scientific language: for older students, parents and teachers.
Some speakers follow the “10–20–30” tip: about 10 slides, 20 minutes, and a font of at least 30 points.
 Play and check
Good rule or mistake?
 How to write it down
- Write a plan for a 5-slide presentation on “Planet Earth”.
- Write 4 rules of a good slide.
- Write the steps to save and show a presentation.
How the classwork looks in the notebook
Sample: the date and heading follow this country’s notebook rules.
 Watch out: common mistakes
 Where it helps in life
- Properties of an algorithm
 At home
Core
- Make a 3–5 slide presentation about a favourite book (draw it on paper if there is no computer).
Extra ⭐
- Show it to someone close and write down their feedback.
How to do it
- Do the task with a grown-up.
- Explain in words what you noticed.
Answers for parents
Plan: 1) Title slide — “Planet Earth”, name; 2) Earth’s shape and size; 3) Earth’s inner structure; 4) Continents and oceans; 5) Conclusion — let’s protect the Earth. Save: File → Save As, type a name; show: F5.
Step-by-step homework solution — Show the solution (try it yourself first)
Let’s fix a slide
- A slide has 12 lines of text, white letters on yellow, and 5 animations. Fix: cut the text to 3–4 short points, make the background dark blue with white letters, keep one simple transition and add one picture that fits the topic.
How the homework looks in the notebook
Sample: the date and heading follow this country’s notebook rules.

 About cookies