


Volume with lines: hatching and shading


 About this lesson
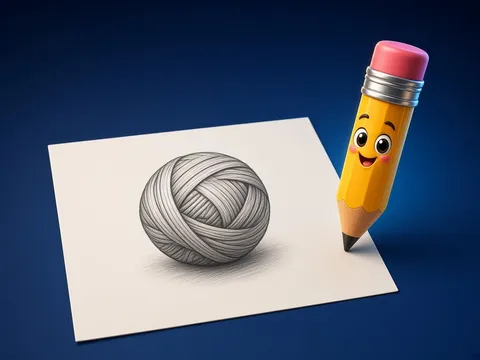
Hatching means parallel lines drawn close together. The closer and darker the lines, the darker the area looks. Cross-hatching means drawing more lines over them in another direction, which makes a darker shadow. Light comes from one side: that side stays light, the opposite side gets dark, and a cast shadow appears under the object. This makes a drawing look three-dimensional.
 What the book shows

In art lessons the child explores colour, line and shape, draws and creates patterns. Look at the textbook examples, then make your own work.
Textbook link:
This is not the textbook’s text but a short description of the topic. Check the exact page in your own textbook.
 The lesson step by step
- 1
Warm-up5 min
Ball and lamp.
- 2
New topic10 min
Kinds of hatching.
- 3
Practice10 min
Tone strip.
- 4
Game10 min
A round ball.
- 5
Wrap-up5 min
Checking the shadow.
 Let’s understand
For the student Simple language
| Area | How we draw it |
|---|---|
| ☀️ lit side | leave the paper white |
| 🌗 half-shadow | light, spaced hatching |
| 🌑 own shadow | dense cross-hatching |
| ⬛ cast shadow | dark patch under the object |
 For the parent
How to help
- Light a ball with a desk lamp and let your child point to light and shadow.
- Move the lamp and watch the shadow change.
 For the teacher
 Lesson goals
- Show light and shadow with hatching and cross-hatching and turn a flat circle into a round ball.
How to teach it
- Observation, drawing, colour mixing, a class display
 Differentiation
- Weaker pupils colour a ready outline; stronger pupils create their own composition
 Questions for the class
- How do lines show volume?
 How to check
The pupil chooses the light direction and draws a ball in four tones.
 Scientific Scientific language
Why shadows form
Light travels in straight lines; an object blocks it and leaves a shadow behind.
Where the shadow falls
Always on the side away from the light.
Self-study
Step by step
- Where is the light coming from? Draw an arrow.
- Keep the lit part white.
- Darken the shadow step by step.
Going deeper
 Scientific language: for older students, parents and teachers.
Some artists shade with dots instead of lines: the closer the dots, the darker it looks.
 Play and check
Which shading?
 How to write it down
- Fill a 5-step light-to-dark strip with hatching.
- Draw a ball with light, half-shadow, shadow and cast shadow.
How the classwork looks in the notebook
Sample: the date and heading follow this country’s notebook rules.
 Watch out: common mistakes
 Where it helps in life
- Shading a cube and cylinder
- A pencil still life
 At home
Core
- Light a piece of fruit with a lamp and draw it with hatching.
Extra ⭐
- Draw the same object twice, lit from the right and from the left.
How to do it
- Prepare a quiet spot and materials.
- Show your work to a grown-up and explain it.
Answers for parents
When the light is on the right, the shadow is on the left and falls to the left; with light from the left it is the other way round.
Step-by-step homework solution — Show the solution (try it yourself first)
Plan
- Lamp top left → the ball is white at the top left, dark at the bottom right, and the shadow falls to the bottom right.
How the homework looks in the notebook
Sample: the date and heading follow this country’s notebook rules.

 About cookies